Trial Assembly Before Shipment: Why Fit-Up Checks Save Site Time
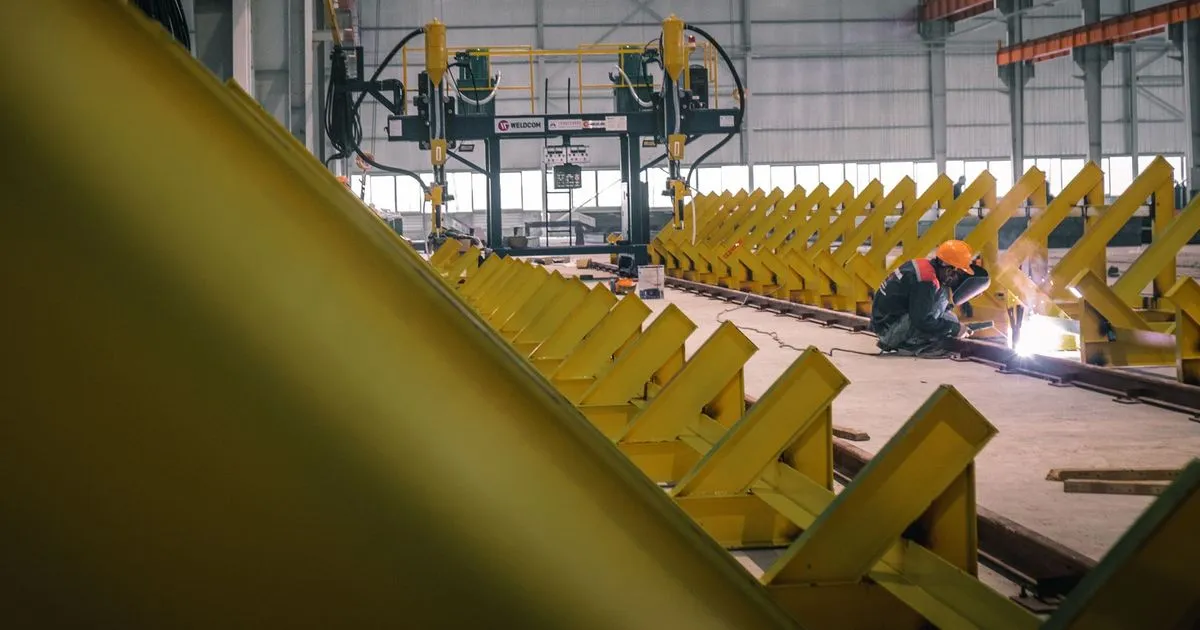
The worst moment to discover that two frame sections do not fit is when they are hanging from a hired crane at the customer’s site. Bolt holes that miss by 6 mm, a flange that sits 10 mm proud, a base that is out of square: each one becomes a day of grinding, drilling and waiting, in a location where labour and equipment cost far more than in the fabrication shop.
Trial assembly moves that discovery into the shop. The sections that will meet on site are put together before shipment, checked and then taken apart again. This article explains what it covers, what it costs and when it is worth writing into the order.
What a trial assembly is
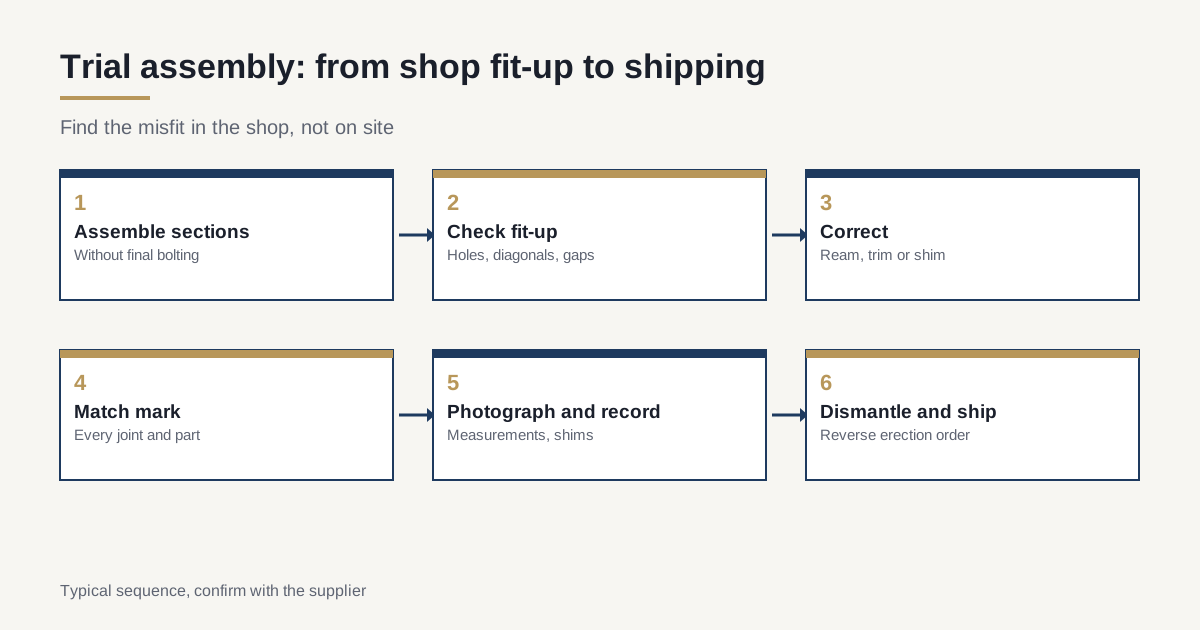
A trial assembly, also called a dry fit or shop erection, is the assembly of parts of a structure in the fabricator’s yard or shop, in the position they will have on site, without final bolt tightening or final welding. The purpose is to confirm that the parts fit each other. It is not a test of strength.
Structural steel specifications sometimes require it. EN 1090-2 lists trial assembly as an item that can be specified, and the AISC Code of Standard Practice treats shop assembly as an extra that the contract must call out. If the order does not mention it, the shop will not do it.
There are three levels:
| Level | What is assembled | Typical use |
|---|---|---|
| Full assembly | The whole frame or structure | Machine frames, skids, bedplates delivered in several sections |
| Partial assembly | Critical joints and interfaces only | Long structures with repeating bays |
| Progressive assembly | Sections added in sequence, then released | Very long or tall structures where the yard cannot hold everything |
Why site fit-up problems happen
Most fit-up failures come from small errors that accumulate. Each part is within tolerance. Together they are not.
- Weld distortion. Every weld shrinks. A frame section that was square on the jig may be a few millimetres out after welding and handling. See the discussion in the article on welding distortion control for heavy plate.
- Hole position errors. A drilled pattern can be accurate to 0.5 mm and still miss if the plate is not where the drawing says.
- Cutting and fabrication tolerance stack-up. Plates cut by flame, plate thickness variation and weld size add up across a long joint.
- Different shops, different jigs. When two sections are built in different places or on different days, their datums may not match.
- Drawing errors. The most expensive cause. A trial assembly finds a missing hole or a clashing bracket that nobody saw in the model.
What is checked
A trial assembly is only as useful as its checklist. These are the usual items:
| Check | How it is done | Typical acceptance, confirm per order |
|---|---|---|
| Bolt hole alignment | Pass erection bolts or drifts through the holes | Bolts pass freely through a stated share of holes |
| Overall length and width | Tape or laser measurement | Within the drawing tolerance, often a few millimetres |
| Squareness | Diagonal measurement | Diagonal difference a few millimetres |
| Flange and face contact | Feeler gauge at joint | Gap within the stated limit |
| Height and level | Level or laser | Within stated tolerance across base |
| Anchor bolt pattern | Steel template | Template drops over anchor bolts or through base holes |
| Match marks | Paint or punch marks | Every joint marked with a unique ID |
For bolted joints in structural steel, a common test is to pass erection bolts or a drift pin of a specified diameter through all holes of a connection. Some standards allow a small percentage of holes to need reaming, and the drawing or specification should state the limit.
The cost and the payback
Trial assembly costs crane time, floor space and labour. For a medium frame in several sections, it often takes one to four working days, depending on size and number of joints. It also delays shipment by the same time unless it is planned into the schedule.
The payback is a site job that proceeds without rework. A mobile crane for a day at the customer’s site can cost several thousand dollars, plus the installation crew standing by. One day saved by avoiding a re-drill of a base frame covers the shop assembly several times over. For structures that need a crane at all, the maths strongly favour the check.
A rough guide to when it is worth it:
- Sections that connect only on site: worth it if the joint has many bolts or tight tolerances.
- Machine bases and skids delivered in two or more pieces: worth it nearly always.
- Single-piece frames: not needed for fit-up, but a check of the base against the foundation template is still useful.
- Very repetitive structures: assemble the first one fully and then spot-check the rest.
The related decision of splitting a frame into shippable pieces is covered in the article on split-and-bolt frame design.
Match marking and preparation for disassembly
A trial assembly that is taken apart and shipped without marks loses most of its value. Before dismantling:
- Mark every mating part with a unique number and a joint ID, using paint and stamp marks.
- Mark orientation with an arrow and a datum edge.
- Record shim thickness at every joint that needed packers, and bag the shims with the part.
- Photograph the assembled structure, including joints and measuring points.
- Label bolt sets to the joint they belong to.
- Keep the measurement record as part of the shipping documents.
The same marks serve the shipment packing list, so they must survive coating and ocean transit. Use paint pens and stamps that do not wash off.
Digital and virtual assembly
Not every structure can be laid out in a yard. Very large or long frames sometimes do not fit in the shop, or the schedule leaves no time for the physical build. Alternatives exist.
- 3D scanning and virtual assembly. Each section is scanned or measured with a laser tracker, and the measurements are combined in software to simulate the assembly. The method finds clashes and hole offsets without physically joining the parts.
- Template and master gauge. A steel template of the hole pattern is made once and used to check each section.
- Measured-position check. Key interface points are measured on each section and compared with the drawing.
Digital fit-up is faster and cheaper than a full physical trial. It shows geometry, but not how the parts sit and clamp together, and not the effect of weight on a flexible section. For critical interfaces, physical assembly still gives more confidence. The measuring methods are explained in the article on dimensional inspection with laser trackers and CMMs.
Witnessing and records
The buyer, or an independent inspector, can witness the assembly. On a remote shop, a live video call with a measuring tape and a clear camera is a practical alternative. If the buyer is not present, ask for:
- A measurement report with the actual dimensions, not only “OK”.
- Photographs from several angles, including each bolted joint.
- The list of any modifications made during assembly, such as reamed holes or trimmed plates.
Changes made at this stage must go back into the drawing. A hole that was enlarged or a bracket that was moved is a deviation that the site installer needs to know about.
Shipping sequence and site installation
A trial assembly is also the moment to plan the way parts leave the shop. Load them in the reverse of the erection order, so the first piece needed on site is the last one on the truck or in the container. Write the erection sequence on the packing list, with the match mark of each piece beside it. Site crews work from the list, and a clear list shortens the time spent hunting for a part.
Bolts, shims and anchor templates travel with the pieces they belong to, in labelled bags or boxes. Leave erection bolts and drift pins out of the main shipment if they are generic, and ship a spare set of the critical fasteners. A missing bolt of a rare size is a classic cause of lost days on site, and it costs almost nothing to prevent.
What to write on the order
- Trial assembly required for the named sections or for all joints between shipping pieces.
- Scope: full, partial or progressive, and which interfaces.
- Acceptance criteria: hole alignment limit, dimensional tolerances and flange gap limit.
- Match marking to be applied before dismantling.
- Records: measurement report and photographs before shipment.
- Witness option: buyer or third party can attend, with 3 working days notice.
- Schedule: trial assembly time included in the lead time, shown on the plan.
Closing checklist
- Trial assembly written into the order, with scope.
- Acceptance limits stated.
- Time in the schedule for assembly, correction and disassembly.
- Match marks and shim records planned.
- Photographs and measurement report included in the shipping pack.
- Corrections fed back into the drawings.
For the other pre-shipment checks that go with a trial assembly, see the skid acceptance checklist.
For more on how a sourcing partner can attend or review a trial assembly on your behalf, see our shop vetting process. If you have a multi-section frame and want to plan assembly and shipping together, send the drawing and we will reply within 24 business hours.